

Barcodes are a widely recognized and reliable means of representing data in a machine-readable format. Commonly used in retail, healthcare, logistics, and numerous other industries, they have streamlined many processes, such as inventory management and product identification. This project explores how to create a basic barcode scanning system using an Arduino microcontroller. We will interface a barcode scanner with the Arduino to read barcode data, decode it, and display it on a 16×2 LCD screen.
Components Required
To build a barcode scanner system with Arduino, you’ll need the following components:
- Arduino Uno: A microcontroller board based on the ATmega328.
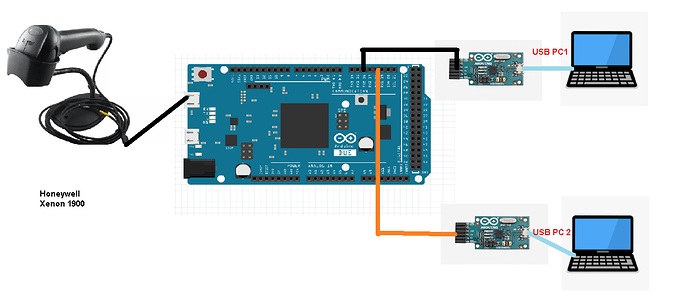
- Barcode Scanner Module: The device used to scan barcodes.
- 16×2 LCD Display: For displaying the barcode information.
- USB Connector: To power the Arduino and upload code.
- Cables and Connectors: For connecting the components.
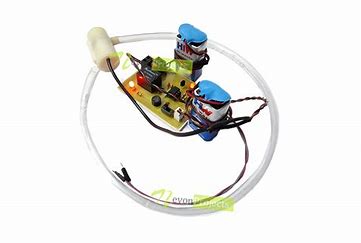
- Capacitors: To stabilize power supply if necessary.
- Transistors: For controlling current flow.
- PCB Board: For organizing and mounting the components.
- Power Adapter: To power the system.
- LED and Buzzer: Indicators for successful scanning.
Working Principle
The system operates in a simple, straightforward manner. A barcode scanner captures a barcode and sends its information to the Arduino via a serial connection. The Arduino decodes the data and displays it on a 16×2 LCD screen. This setup is ideal for testing and troubleshooting barcode-based systems, providing a simple interface to visualize the scanned data.
Understanding Barcodes
Barcodes encode data using parallel lines of varying width and spacing. Each barcode represents a unique string of numbers or letters. The most commonly used types of barcodes include:
- UPC (Universal Product Code): Widely used in retail.
- Code 39 and Code 128: Used in logistics and transportation.
- EAN (European Article Number): Similar to UPC but used internationally.
Barcodes are efficient because they allow for quick, error-free data entry and can be read at various angles.
Arduino Uno Overview
Arduino Uno is a versatile microcontroller board based on the Atmega328 chip. It has 14 digital I/O pins, 6 analog inputs, a USB connection for power and programming, and a 16 MHz quartz crystal for accurate timing. Arduino is an excellent choice for this project due to its ease of use, open-source community support, and ability to handle serial communication with peripherals like barcode scanners.
Hardware Setup
Step 1: Connecting the Barcode Scanner to Arduino
Most barcode scanners output data via serial communication (TX, RX pins). In our setup, we will connect the scanner’s TX pin to the RX pin on the Arduino. The scanner is powered by connecting its power pins to the 5V and GND of the Arduino.
Step 2: Interfacing the LCD Display
To display the decoded barcode data, we will use a 16×2 LCD. This will be connected to the Arduino using digital pins. The LCD has a set of pins that include VCC, GND, RS, E, and data pins (D4-D7) that will be interfaced with the Arduino for display control.
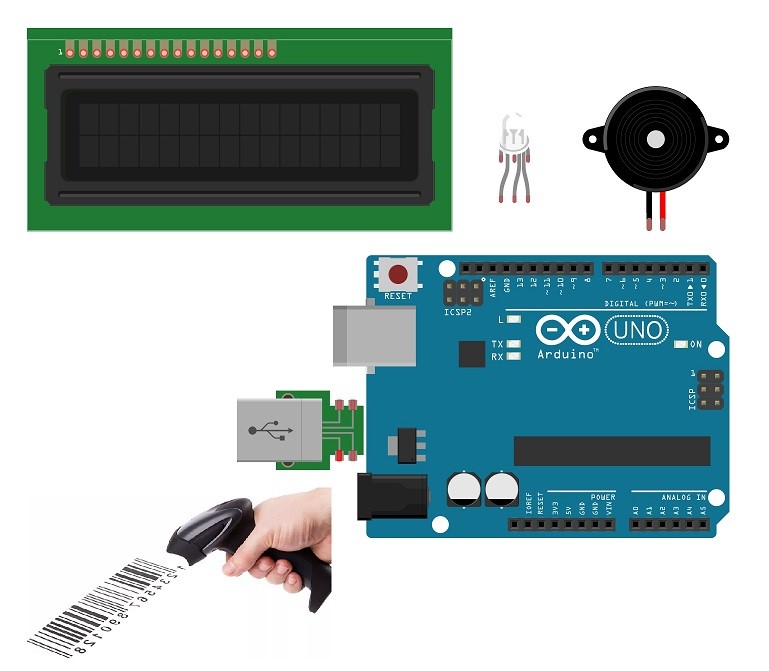
Here is a simple schematic:
- Barcode Scanner TX -> Arduino RX (Pin 0)
- LCD RS -> Arduino Digital Pin 12
- LCD E -> Arduino Digital Pin 11
- LCD D4-D7 -> Arduino Digital Pins 5-8
- Power the barcode scanner and LCD via Arduino’s 5V and GND.
Barcode Scanner Module
The barcode scanner module reads the barcode and sends the information to Arduino as a serial data stream. Most modules will output ASCII text corresponding to the barcode value, which the Arduino then reads and processes.
LCD Display Module (16×2)
The LCD display shows two lines of text, each with 16 characters. It is controlled by the Arduino using a few digital pins. The LiquidCrystal library in Arduino helps control the display, making it easy to print characters to the screen.
Arduino Code Explanation
The code for this project is straightforward. It reads serial data from the barcode scanner and sends it to the LCD display. Here’s a simple code snippet:
#includeAssembly and Testing
Once all the components are connected, upload the Arduino code via the USB connector. Power up the system and use a barcode to test the setup. The scanner will read the barcode and display the value on the LCD. Ensure proper wiring and alignment of the barcode to the scanner for the best results.
Advantages of the Barcode Scanner Using Arduino
- Reliability: Accurately decodes barcodes and displays the information.
- Speed: Fast data processing and display.
- Cost-Effective: Affordable components with simple integration.
- Ease of Use: Easy setup with minimal coding and wiring.
Limitations of the System
- Limited Scanning Distance: The system only works within 1 foot of the barcode.
- Barcode Alignment: The barcode must be correctly aligned with the scanner.
- No Support for QR Codes: This system cannot read QR codes or RF tags.
Applications of the System
- Inventory Management: Efficiently track and manage stock.
- Product Tracking: Easily scan and display product codes.
- Retail Checkout: Basic implementation of a checkout system.
Future Enhancements
In the future, this system can be enhanced to:
- Support QR code scanning.
- Extend the scanning range.
- Integrate wireless communication to send barcode data to remote systems.